Getting your binding size right isn’t just about comfort — it’s about control. If your bindings are too small, you’ll feel cramped and unstable. Too big? Your boots will slop around, and your board won’t respond the way it should. Either way, it sucks!
Most riders obsess over boards and boots (fair enough), but bindings often get treated like an afterthought. They shouldn’t. They’re your direct connection to your board, and if they don’t fit right, your whole setup feels off.
TL;DR – Binding Size Basics
- Binding sizes usually come in Small, Medium, and Large — but they’re not consistent across brands.
- Check your boot size against the brand’s size chart (don’t wing it).
- Boots should sit snug and centered in the binding — no weird overhang or maxed-out straps.
- Bindings also need to fit your board’s mounting system (4x4, 2x4, Channel, etc).
Check the Size Chart (Seriously)
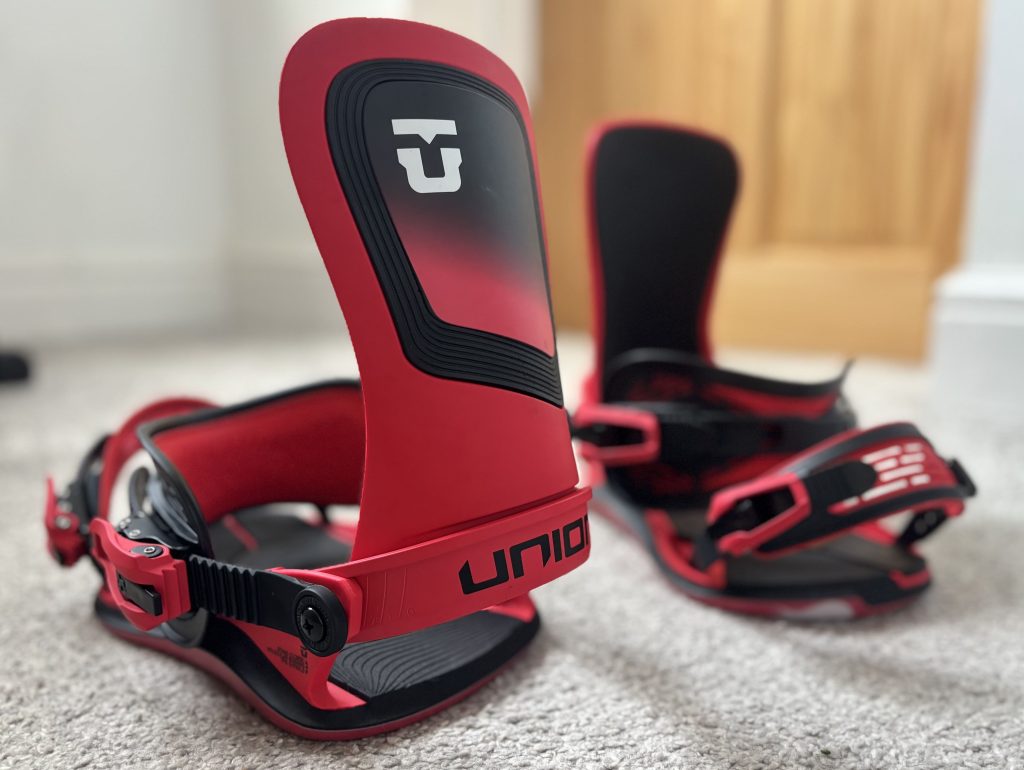
Binding sizes vary from brand to brand. A Medium in Burton might fit size 8–11. In Union, it’s more like 8–10. Here’s a rough guide, but always double-check the actual chart:
| Binding Size | Men’s Boots (US) | Women’s Boots (US) |
|---|---|---|
| Small | 5–7 | 6–8 |
| Medium | 7–10 | 8–10 |
| Large | 10–13 | 10+ |
How To Check the Fit
- Your boot should sit centered on the baseplate — not too far forward or back.
- Straps should land over the right part of your foot without being cranked to the max.
- No major toe or heel overhang — a little is normal, but inches is a problem.
If you're between sizes, test both if you can. Some boots are bulkier than others, so sizing can shift depending on the brand.
Mounting Compatibility: Will They Even Fit Your Board?
Your bindings need to match your board’s insert pattern. Here’s a quick breakdown:
- 4×4 or 2×4: The standard for most boards. Easy to fit.
- Channel (Burton): Needs EST or compatible discs. Most major brands now support this with the right hardware.
- 3D (old Burton): Triangle-shaped pattern — only works with certain older bindings or adapters.

Most modern bindings come with discs that fit all of the above, but don’t assume — check the fine print before buying.
Dialing in Fit: Adjustability Features That Matter
Bindings today are super tweakable. Take advantage of it.
- Heel cup: Lets you center your boot better and reduce toe/heel drag.
- Toe ramp: Adds response under the toes for better turns.
- Strap positioning: Helps get the pressure right across your boot — not too tight, not sloppy.
- Highback rotation: Aligns with your heel edge. Helps with power on turns.
- Forward lean: More lean = more edge hold. Less lean = more play. Set it how you like it.
Don’t overthink all of this on day one. Ride a bit, then adjust what feels off.
Matching Size and Flex to Riding Style
Freestyle / Park: Go for soft-to-medium flex. You want mobility, not lockdown stiffness. Fit should be snug but not tight.
All-Mountain: Medium flex gives you balance. Look for secure ankle hold and responsive straps.
Freeride / Big Mountain: Go stiffer. You want support, precision, and max response when things get fast or steep.
Popular Binding Brands (And What They’re Good At)
- Burton: Great for comfort and build quality. Re:Flex and EST systems are super dialed.
- Union: Bombproof and light. Tons of freestyle-focused options.
- Rome: Tweaky and adjustable. Good if you like to fine-tune your ride.
- Ride: Known for solid performance and smooth flex underfoot.
- Salomon: Lightweight and responsive. Great for all-mountain riders.
You don’t need top-shelf bindings. You just need something that fits, matches your style, and won’t fall apart mid-season.
Common Sizing Mistakes
- Guessing size by boot number alone: Always check the brand’s chart — seriously.
- Assuming all mediums fit all size 9s: They don’t.
- Ignoring overhang: Too much and you’ll catch edges every time you carve.
- Cranking the straps too tight: Numb toes aren’t worth it. Snug is enough.
- Mismatched flex: Stiff bindings on soft boots = awkward. Keep things balanced.
Final Tips: Getting Your Bindings Dialed
- Always try bindings with your boots if you can. Fit varies more than you think.
- Check for overhang, strap alignment, and heel cup position before heading to the mountain.
- Take a screwdriver with you. Make small tweaks on the hill as needed — that’s normal.
- If something feels off, it probably is. Don’t suffer through it. Adjust it.
The right bindings can turn a good board into a great setup — and the wrong ones will make even a $700 board feel like a rental.